Update: April 2015. An on line company LMB/Heeger is evidently making chassis kits. I have not assembled one of their chassis kits but according to their web page they are an American company and established in 1946. Select the link below for more information. The product Category is "Omni Chassis Kit".
On Christmas Day, Mr. Charles Byers became a Silent Key, he will be missed by all of us.
In the following I have posted notes and pictures feathering a chassis kit manufactured by Mr. Charles Byers, K3IWK. Mr. Byers has been making chassis kits for amateurs and industry since 1982 and is a regular participant in our East Coast hamfest circuit. Fred is located in Dover, PA.
I
realize that there are other sources of chassis but my choice on utilizing
one of these chassis kits
is based on years of experience. In my opinion it is the only game in
town.
So that there is no misunderstanding, the chassis that is provided by Mr. Byers is a "kit" and will require drilling holes and you will supply the necessary hardware.
Fred is a perfectionist and a profession sheet metal fabricator. I have never received a chassis kit that contained any mismatched panels or parts.
His website can be found here:
http://www.k3iwk.net/
The chassis kits can be order in several thickness starting with .040. I recommend .063 for
the main chassis and sides, no reinforcement of the chassis will be necessary.
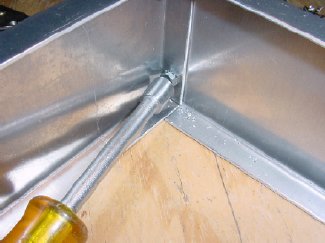
Practice putting the sides together
Once you decide on hole placement you can duplicate it
with the other sides.
Wood blocks assist in alignment. "Measure twice drill once."

Drill your holes so that you can reach the nuts


An
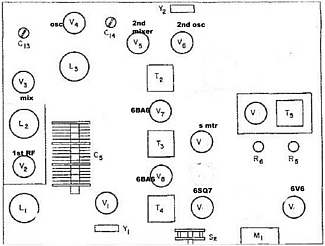
basic outline comes in handy when laying out your parts., Note that I
do not have any power supply components shown the diagram as the
power supply was separate. This reduces the chance of hum and
makes the overall project easier to build in sections. In addition the
speaker is also separate from the receiver to reduce magnetic problems.
With the chassis
kit it is easy to fabricate screen inlets as the sides are removable.

NOTE: Use flat head hardware on the ends and sides if you plan on fabricating a cabinet enclosure by attaching the sides to the chassis. See the section on "Front Panel and Cabinet" for more info.

Two great tools, a "Unibit and a "Nibler"
Since
the top of the chassis can be removed you
can
drill pilot holes and then mount the top sheet in a vice and "Unibit"
away.
It's
a great mindless therapy.

Don't
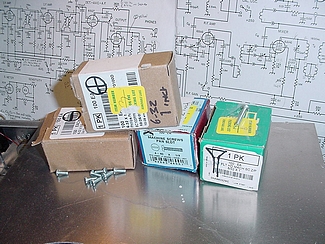
forget to order hardware for your project. I
prefer
McMaster-Carr.

These come in handy.
"Spade bolts" to hold Mixer shield.
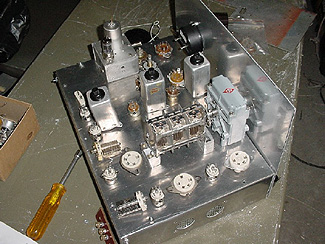
You can assemble the chassis kit and then remove
one or more of the sides to make it easier to wire circuits.
Don't forget the underside shield or you can wait till later like we did.
The shield is held in place by one bracket and a 90 degree bend on the ends.
Standoffs are excellent for single point connections.
Terminal strips.
I drew a wiring layout diagram and then scotch taped the parts to
the drawing, sort of Heathkit style.