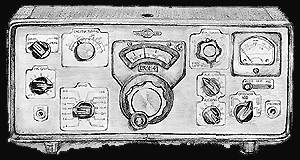
 KWM-2A
QF-1 Ops
KWM-2A
QF-1 Ops
Using
the Heathkit QF-1 with the KWM-2
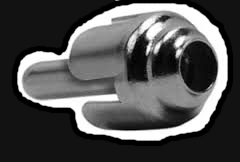
The KWM-2 has a built in injection jack and you can use the Noise Blanker socket for power. The "Q MULT" injection socket requires a standard phono plug and the NB socket requires a 9 pin socket plug which no one has.
A power plug can be easily fabricated.
Improvise-Adapt-Overcome.
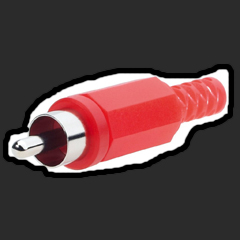
A standard Phono Plug is used for the injection. Radio Shack has them. Catalog #: 2740319
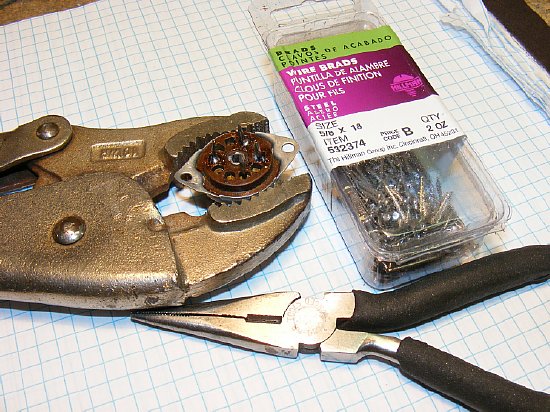
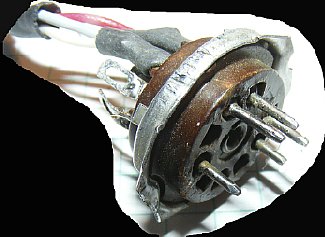
Socket plug fabrication is easy. Use No 18 wire brads for the pins.
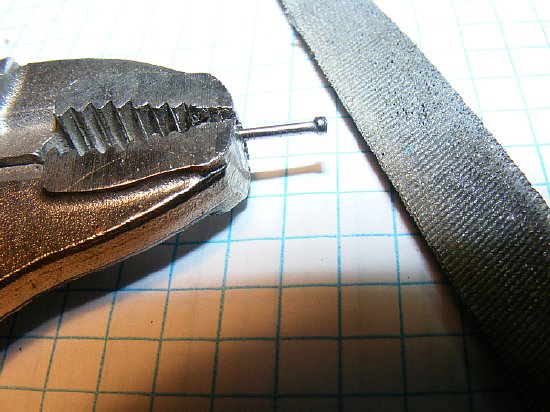
File the head of the brad down to the same size as the body and round off the end. The "pointed" end of the brad will be inserted into the socket.
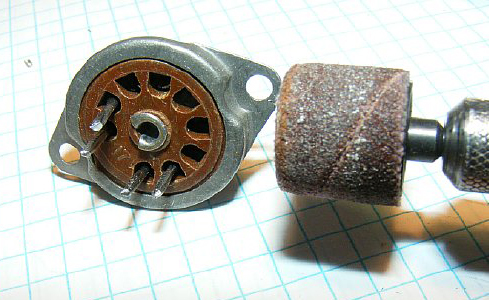
A Dremel tool comes in handy to round off the ends of the pins. Wear Safety Glasses.
I used a phenolic socket instead of a ceramic. I just could not tear up a good ceramic and saved it for a later receiver project.
CLICK to enlarge
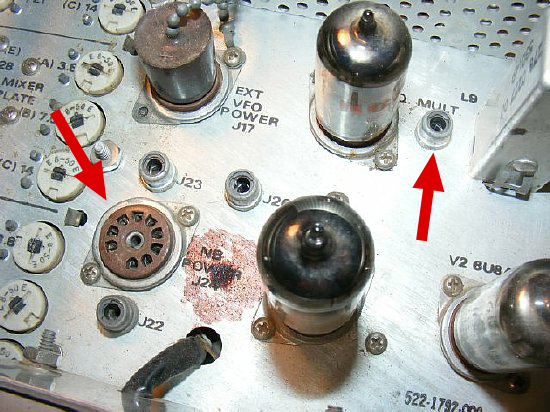
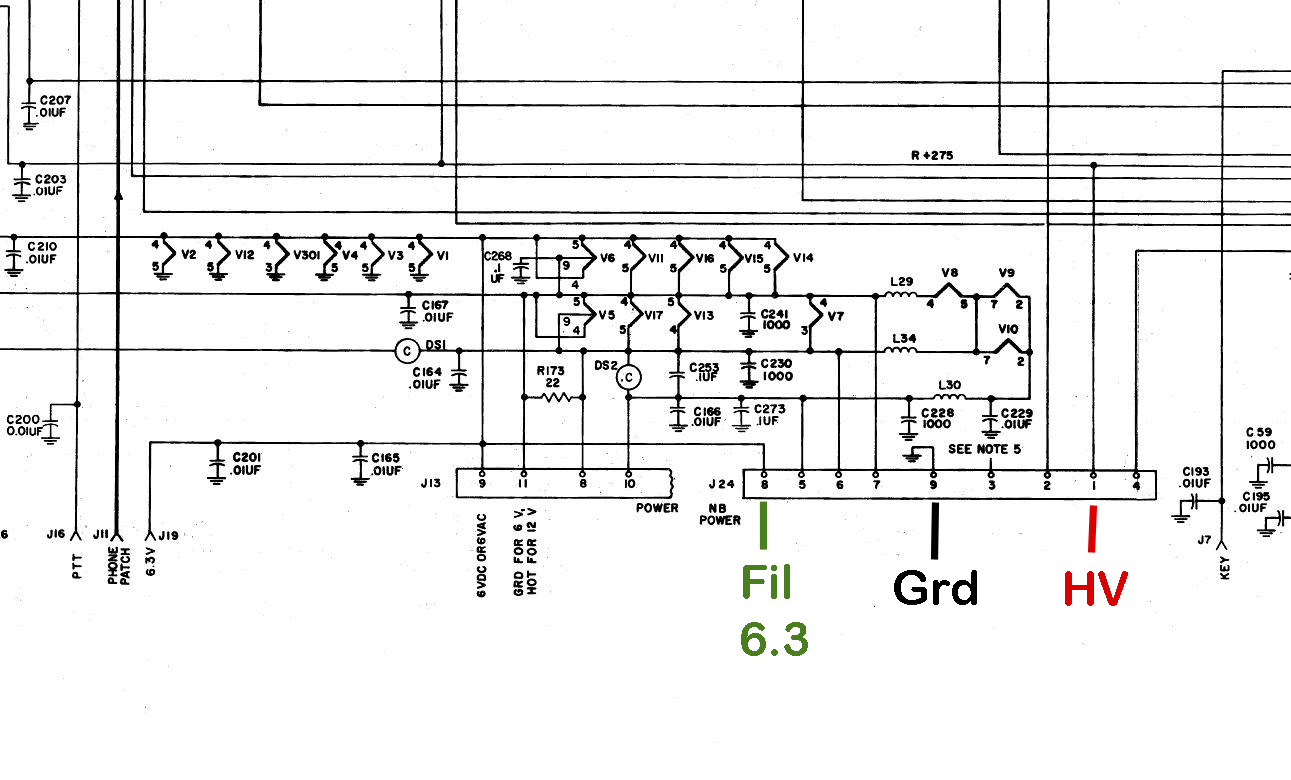
All voltages needed for the QF-1 are available on the KWM-2 NB socket J24.
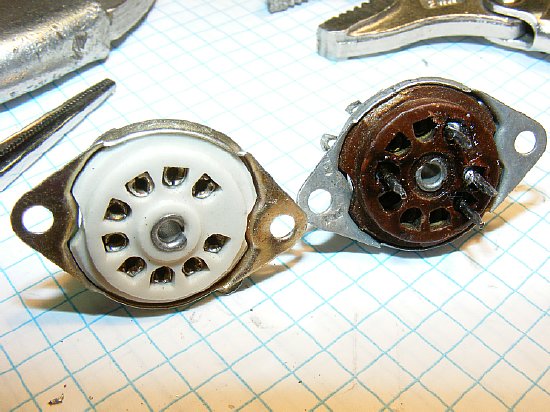
9 pin NB Power socket on the left and Q MULT phono socket upper right.
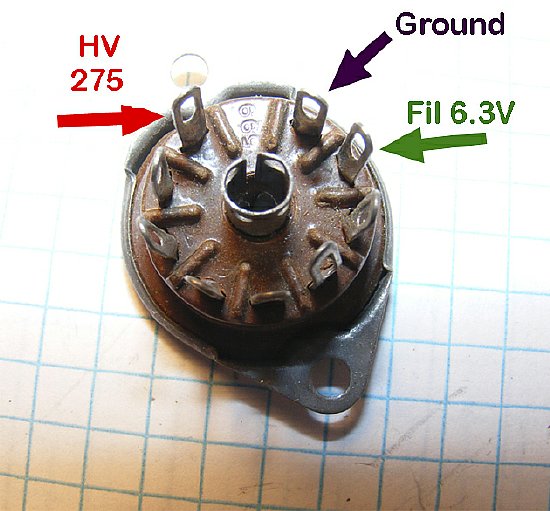
When wiring the "k4che" plug DO NOT use the pin numbers on the socket for wiring as it will be reversed.
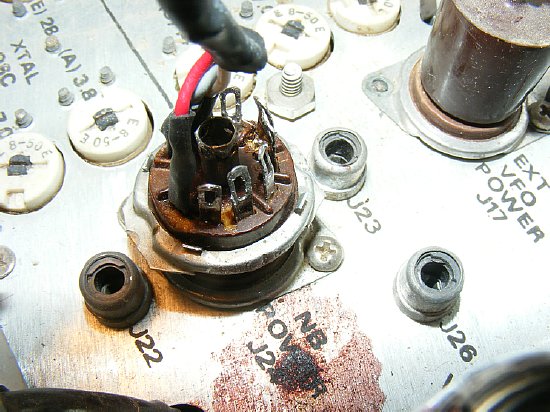
The "k4che" plug is not too pretty but functional. Note that the metal ears of the socket were trimmed. Cover the other unused pins with spaghetti tubing or JB weld epoxy.
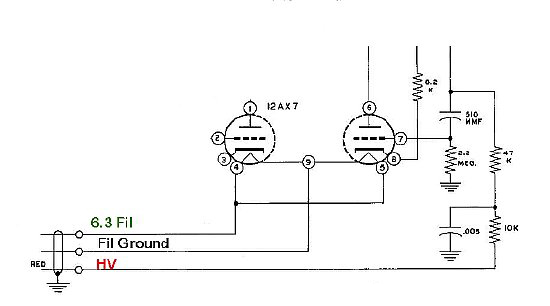
The filaments for the QF-1 need to be wired for 6 volts. Pins 4 and 5 will be connected together and pin 9 will be grounded. Most QF-1 sets were wired to a 6 volt filament configuration and had a 4 wire cable. The shield of the cable was utilized for ground and the wire connected to pin 9 had to be grounded either to the chassis or at the end of the cable.
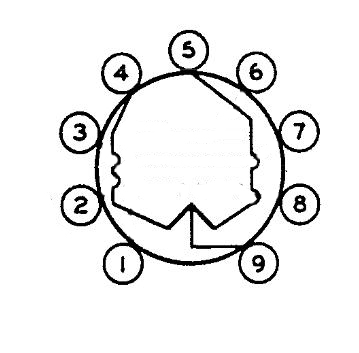
12AX7 tube diagram with elements removed.
6 Volt operations requires connecting 4 and 5 together and grounding pin 9. For some reason hams can not figure out the filament wiring. The set will not work too well on 6 volts if the filaments are wired in series or if one filament is not wired etc.
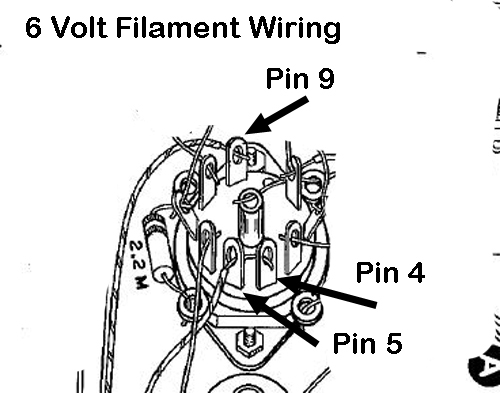
CHECK your filament wiring before plugging in the QF-1. Feed 6 volts to pin 4 and 5 wired together. Ground pin 9.
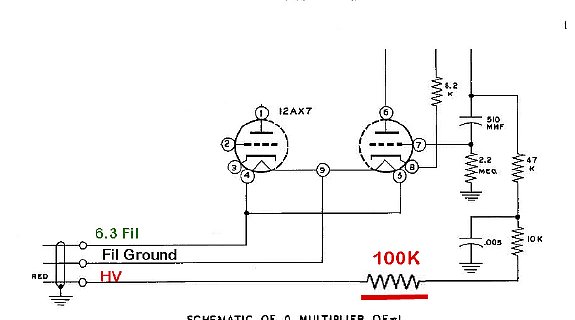
I dropped the voltage from the KWM-2 down to 250 volts with a 100K resistor in series with the 10K input resistor.
.JPG)
An easy way to obtain a steady signal for alignment is to use the CAL position and tune in the calibrator 100 kc signal. .
QF-1 Null Demonstration Video
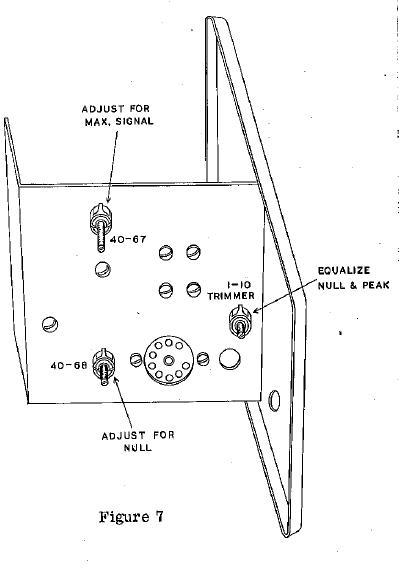
During alignment do not expect to obtain the same QF-1 dial setting for Null and Peak as stated in the manual but it will be very close.

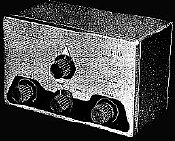
Overall
its a pretty interesting device and represents another receiver era. I
have several QF-1's that were purchased at hamfests for very cheap prices.
Evidently the Q Multiplier is no longer needed due to modern receiver
construction. I've never been very fond of filters and when QRM presents
itself I usually just sort the signals out by just concentrating on one
signal. The QF-1 use on the KWM-2 is probably not needed but its fun to
play with and a simple project. The QF-1 rises to the occasion using the
"Sharp" position and comes in handy for eliminating noise and
QRM.
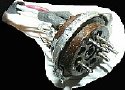
Since the
QF-1 was a kit and and sometimes assembled by inexperienced personnel
there were wiring errors and the set failed to function properly. So expect
problems. But for $5 bucks at a hamfest how can you go wrong? When you
are Hanzing through the boxes you will find one cheap.
Video
QF-1 Sharp Tuning Demo
Bob Eckweiler
AF6C wrote a nice article during his "Heathkit of the Month"
series on the QF-1 and can be downloaded.
http://www.w6ze.org/Heathkit/Heathkit_024_QF1.pdf