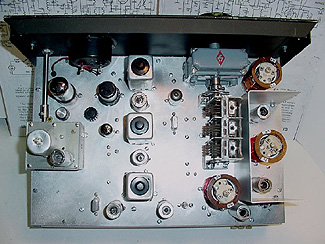
Now that you have finished
the the receiver main chassis construction it is time to consider a cabinet.
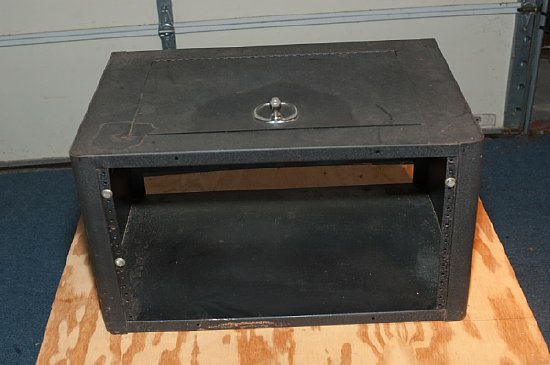
Most
of the standard rack type cabinets are heavy and expensive. In my opinion
they just add bulk and weight to a simple project.

My receiver dimensions were fairly small as I always build my power supplies on a separate chassis to reduce hum. The width is 15 inches.
When planning your receiver and enclosure be sure to allow for the the extra height of the 160 meter coils.
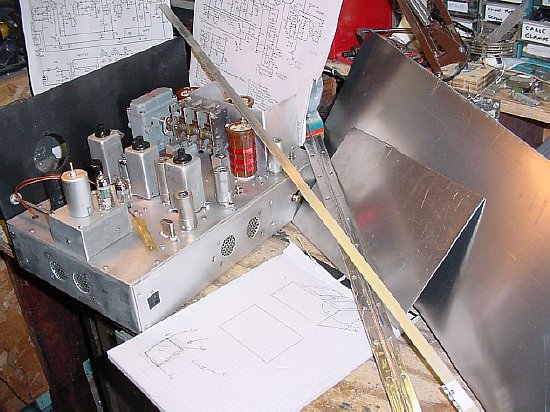
A simple cabinet using the chassis as a foundation. The sides of the enclosure will be permanently attached to the main chassis.
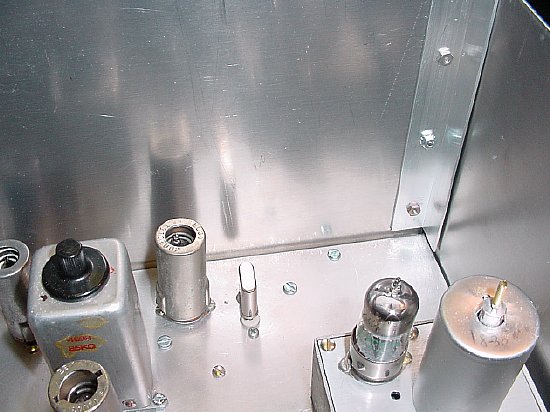
Aluminum angle will be used to join the sides. I used 3/4 inch.
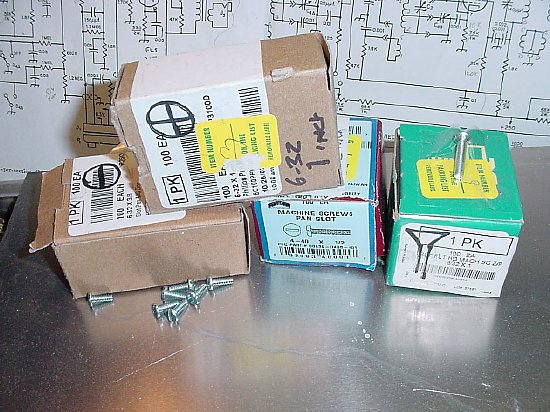
Order
plenty of hardware for your project from:
![]()
Save a lot of time by using Kep Lock Nuts, the lock washers are attached to the hex nuts.
Save a lot of frustration with Kep lock nuts.

Aluminum angle is attached to the front panel. The hinged lid will rest on this angle.
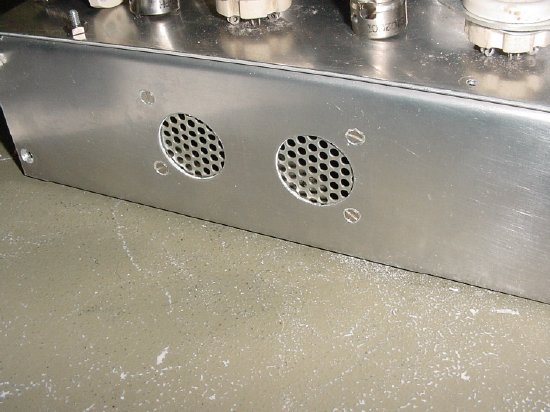
When planning your enclosure be sure and drill ventilation holes.
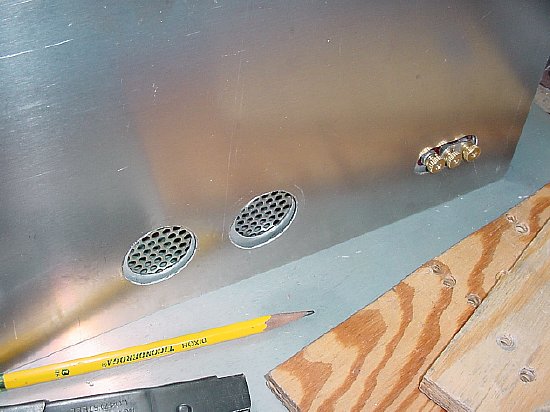
Vent grill holes and antenna connections on the rear require access.
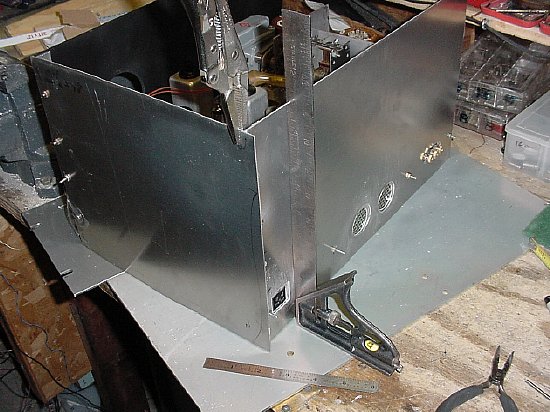
The
easiest way to measure for the side pieces is just put the piece of aluminum
up against the side and scribe the correct length. Keep it square with
a small square ruler.
I
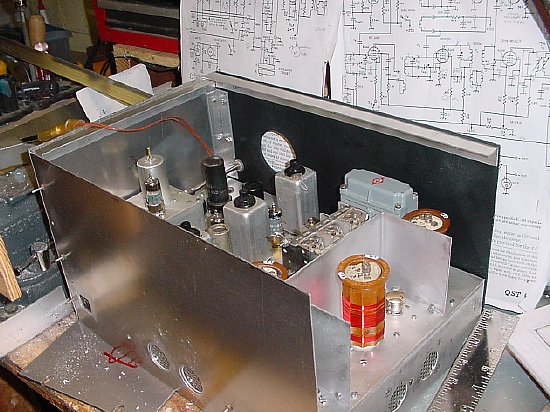
The "box" is taking shape, holes have been cut on the rear for the main chassis ventilation grills.
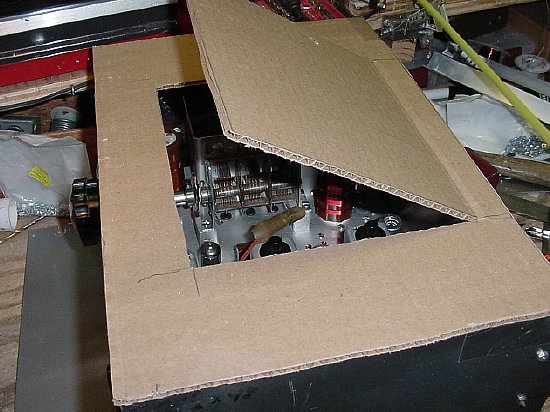
Card
board comes in handy for trial lids, doors etc. A later decision was made
to make the entire top of the enclosure a single piece with a hinge at
the rear. KISS
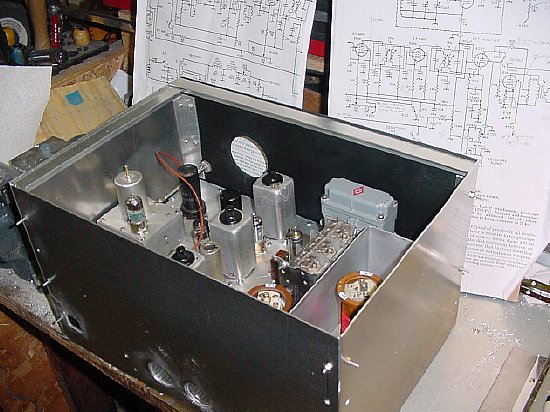
Note
the long bolts extending through the side for the trial runs. Makes it
easier to take apart.
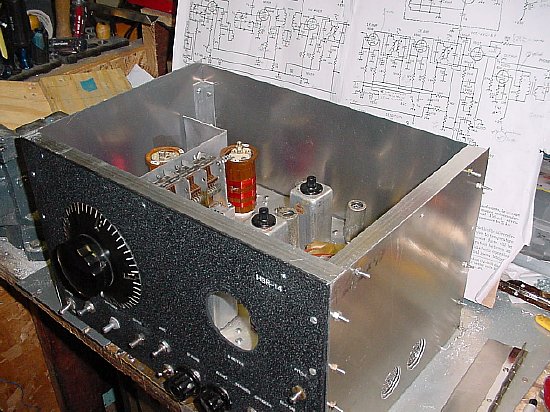
The 3/4 inch aluminum angle is easy to cut and is very sturdy.
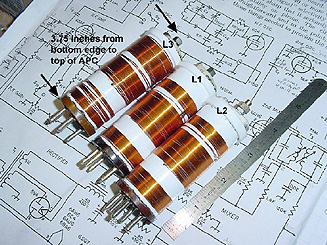
When
considering a housing for the receiver make sure you have vertical
clearance for the 160 meter coils. These extra long coils were fabricated
on homemade PVC coil forms mounted on cut off tube bases salvaged from
bad tubes.
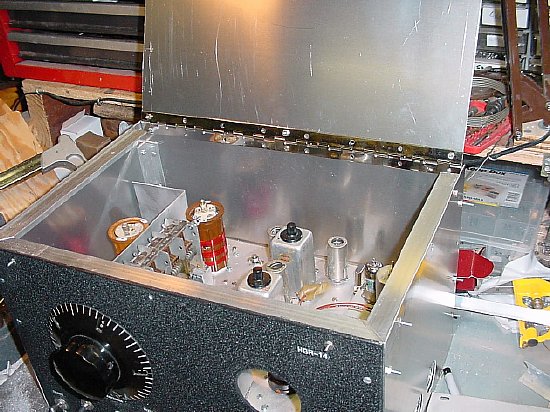
The hinge extends all the way across the rear of the receiver.
Don't ask me why I painted the aluminum angle, just went crazy with the flat black I guess.
Note that the connections to the meter have been insulated. Those meter connections will shock the piss out of you. Be careful.
Its possible to get a fairly good fit on the corners if you just hold the sheet aluminum to the side and mark it for cutting. Is the enclosure perfectly square? I doubt it. I am afraid to check it. Note the small phone jack next to the antenna terminals used for future transceive HBR transmitter injection.
Looks like I could use a little paint touch up on this front corner. The knobs were chosen for that "military" appearance.
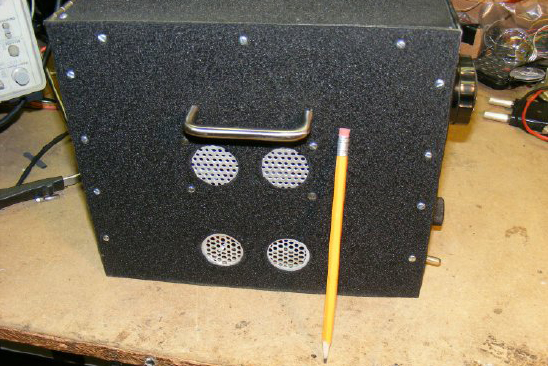
Handles
were added for that "military" look. I decided not to paint
the hardware and left the vent grills unpainted for aesthetics.
NOTE: Additonal vents have been added for the area above the chassis.
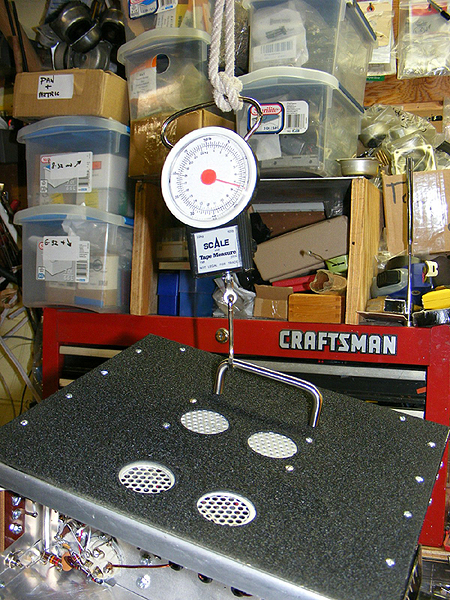
The over weight of the receiver without the bottom plate was 15.8 pounds. Doesn't even qualify as a "boat anchor" but the receiver is easy to transport to hamfests and rallies for show and tell. I am working on a companion transmitter that will be operated "transceive" with the receiver providing the frequency injection and due to the receivers light weight that combination might make a good Field Day station. Hmmmmm no digital read out- - - blaspheme.
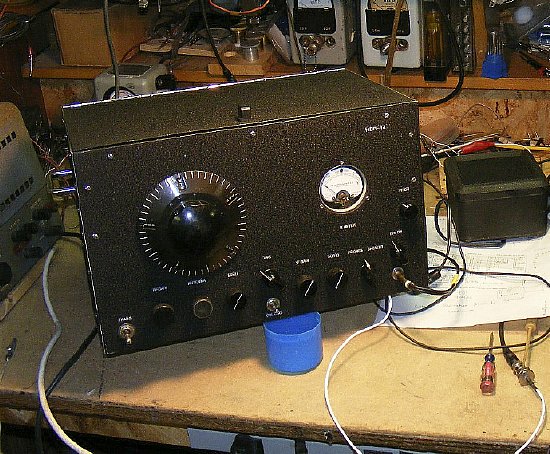
This "bench" photo of the final cabinet, I've added a "pull" on the top of the lid.
Cabinet Dimensions: 15 inches wide, 9 inches in height and 10.5 inches from to rear.